Two files that both end in .svg
Open two "converted" SVGs in a text editor. The first contains a single <image> element whose href is a long data:image/png;base64,… string. The second contains <path> elements with d="M12 4 L…" coordinate data and a fill color each. Both open in a browser and both look right at the original size. Only the second one is a vector.
The wrapper is exactly what it sounds like: the original bitmap, carried inside an SVG container. Enlarge it and the browser upscales the pixels, so the edges blur the same way the PNG would. Cutting machines and vector editors cannot select a shape inside it, because there are no shapes — just one rectangle of pixels.
A traced SVG describes the picture as geometry. Each color region becomes a closed outline made of straight segments and Bézier curves; the renderer fills that outline at whatever size you ask for, so the edges stay crisp at 10 mm or 10 m.
What png2svg.art outputs
The tracer groups the pixels of your image into a small number of flat colors, then outlines every color region with straight segments and Bézier curves. Where two colors meet they share one boundary, so no gaps open between them. The result is a <path> for every shape, filled with its color, grouped by object and nested by what encloses what (with Layers set to By color, one <path> per color). Holes, such as the inside of an "O", stay open under either SVG fill rule. There is no <image> element, no embedded bitmap and no script: every result is checked before it is stored, and it may hold only paths, groups and titles.
Because the geometry is genuine, the preview reports a real path count and the palette that was used. If a logo comes back as 6 paths with 6 colors, that is literally what is in the file.
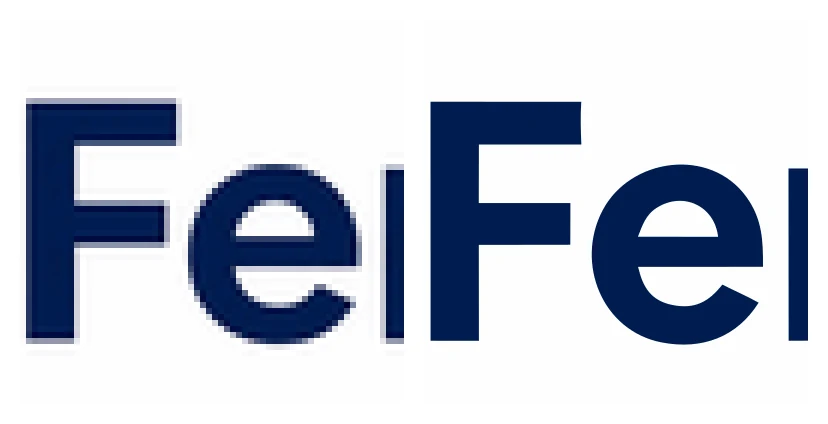
The "Fe" of one of our example wordmarks, enlarged the same amount: the PNG at 256 px shows its pixel grid (left); the SVG traced from the full-size image draws the same edges as curves, sharp at any size (right).
How to check any SVG yourself
- Open the file in a plain text editor. Look for
<path,<polygonor<circleelements — geometry. Look for<image— a wrapper. - Open it in a browser and zoom to 800 %. Vector edges stay sharp; a wrapper turns blurry or blocky.
- Import it into a vector editor such as Inkscape. A trace lets you click individual shapes; a wrapper selects as one picture.
- Compare file size. A wrapped PNG is at least as large as the PNG (base64 adds about a third); a traced logo is usually a few kilobytes.
What tracing cannot do
Tracing reconstructs flat regions. It does not recover detail that was never in the pixels: a 64-pixel-wide icon traced at any setting is still a 64-pixel-wide design with the curves guessed from those pixels. Photographs and smooth gradients become bands of flat color (see the guide on why photos posterize). Text becomes outlines, not editable type. Those are properties of the technique, not a setting you can switch off. Which kinds of image vectorize well, and which do not, is covered on the image to vector page.
Why the preview matters
png2svg.art shows a watermarked preview of the traced result before you unlock anything; the clean SVG is only made for download after the unlock. The preview is drawn from the same paths you would download, so if small lettering merged or a thin line broke, you see it before spending a credit. Unlocking a clean SVG costs 1 credit; every verified account receives 3 free credits.